How to configure or Install the vue-router module in VueJS?
July 12, 2022Hi Friends 👋,
Welcome To SortoutCode! ❤️
Today I am going to show you How do you configure or Install the vue-router module in VueJS.
Table of contains
- Setup the Vue (Optional)
- Create the two components
- configure the vue-router
- Show the view in App.js
Let’s start today’s tutorial How do I configure or Install the vue-router module in VueJS?
Setup the Vue (Optional)
First, we have to install the Vue project, I had installed the vueJS in my system. If you haven’t installed or have any problem with installation you can follow this article, it will show you step by step process of installation. How to Install the VueJS project?
Create the two components
For creating the components go to the project directory and then follow the path src/components/ inside the components directory create components with .vue extension for example FirstComponent.vue & SecondComponent.vue.
For the path of files, you can follow this snippet.
Created First Components name was FirstComponent.vue,
FirstComponent.vue
<template>
  <div>
    This is First Component.
  </div>
</template>
<script>
export default {
    name: 'FirstComponent',
}
</script>
The other Created component name was SecondComponent.vue,
SecondComponent.vue
<template>
  <div>
    This is Second Component.
  </div>
</template>
<script>
export default {
    name: 'SecondComponent',
}
</script>
configure the vue-router
In the main.js file first, we need to import a vue-router module from a node_modules folder because we have installed all of our dependencies in this project. Copy the following code into our main.js file.
src/main.js
import { createApp } from 'vue'
import App from './App.vue'
import router from './router' // <---

createApp(App).use(router).mount('#app')
Create the index.js file inside the src/router/index.js and create routes and import your components
import { createWebHashHistory, createRouter } from "vue-router";
import FirstComponent from "@/components/FirstComponent.vue";
import SecondComponent from "@/components/SecondComponent.vue";

const routes = [
  {
    path: "/",
    name: "First",
    component: FirstComponent,
  },
  {
    path: "/second",
    name: "Second",
    component: SecondComponent,
  },
];

const router = createRouter({
  history: createWebHashHistory(),
  routes,
});

export default router;
Notice that we create our routes in an array, where we specify for each route a few important items:
- Path - the URL path where this route can be found.
- Name - An optional name to use when we link to this route.
- Component - Which component to load when this route is called.
Notice we export this at the bottom because we’ll need to import it in our main.js file.
Show the view in App.js
<template>
    <div id="app">
      <div id="nav">
      <router-link to="/">First</router-link> |
      <router-link to="/second">Second</router-link>
      </div>
    <div style="margin-top:50px;">
      <router-view />
    </div>
    </div>
</template>

<script>
export default {
  name: 'App',
}
</script>

<style>
#app {
  font-family: Avenir, Helvetica, Arial, sans-serif;
  -webkit-font-smoothing: antialiased;
  -moz-osx-font-smoothing: grayscale;
  text-align: center;
  color: #2c3e50;
  margin-top: 60px;
}
</style>
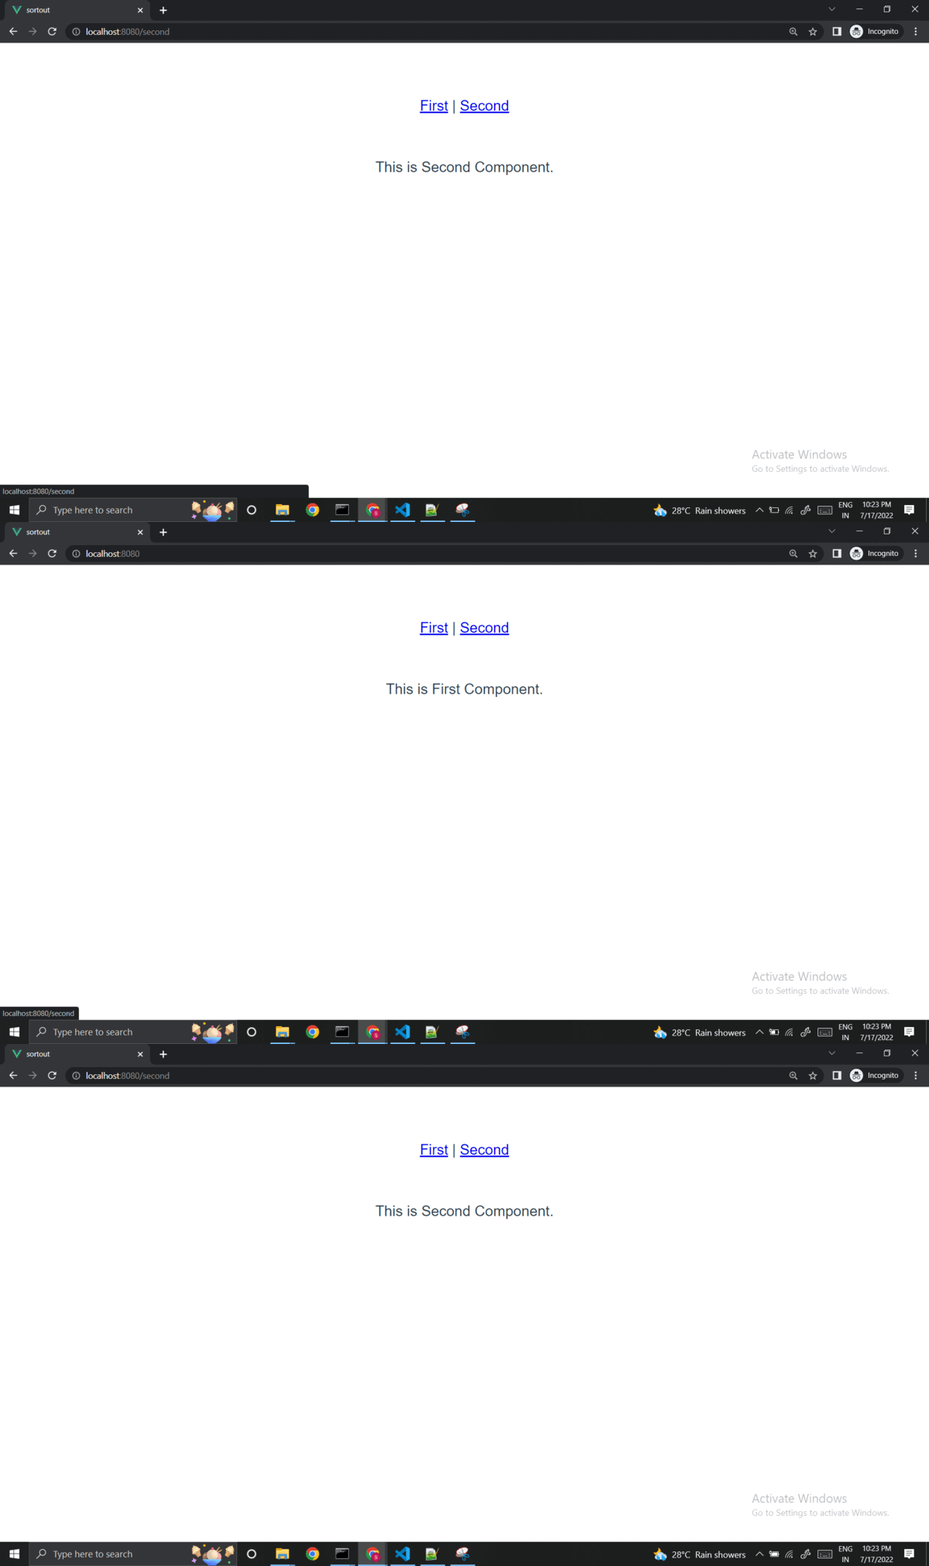
For now, let’s check the output.
Output

All the best 👍.
